
How to create a trailer listing that gets more rentals
August 16, 2026 · 8 min read
A trailer can be in good shape and still sit idle if the listing makes renters guess. They are comparing a row of cards on a phone. The ones that get opened, then booked, are the ones that answer size, condition, and pickup before anyone has to message you.
This is the same advice we send when a trailer first goes live. Most of it takes a few minutes. Do it once per product, then reuse the photo method on every unit so the catalog looks like one business, not a pile of random uploads.
If you are still choosing what to list, start with best trailers for a rental fleet. If the listing is already live and empty, start with the two fixes below.
Two quick wins
Write a description. Mention the condition, what the trailer is suitable for, and how pickup works. Three or four sentences is enough. Empty description fields read as abandoned, even when the trailer is fine.
Add the specs renters check before they enquire: length, width, payload, and ball size. Those four stop most "will this fit / will this tow" messages.
Each takes less than two minutes. The rest of this guide is how to make the listing look consistent and answer the next questions without a chat thread.
Name it the way people search
Renters look for size and type, not a nickname. "8x5 box trailer" or "7x4 cage trailer" will get more taps than "Coles Trailer" or "My trailer for rent." Put the brand in the description if it matters. Lead the title with what they would type.
A useful pattern:
- Size first (8x5, 7x4, 10x5)
- Type second (box, cage, car trailer, plant trailer)
- A capacity or feature only if it is the reason someone would pick this unit (750kg ATM, dual axle, electric brakes)
Skip filler like "great condition" or "available now" in the name. Condition belongs in the description and the photos.
Standardize the first photo
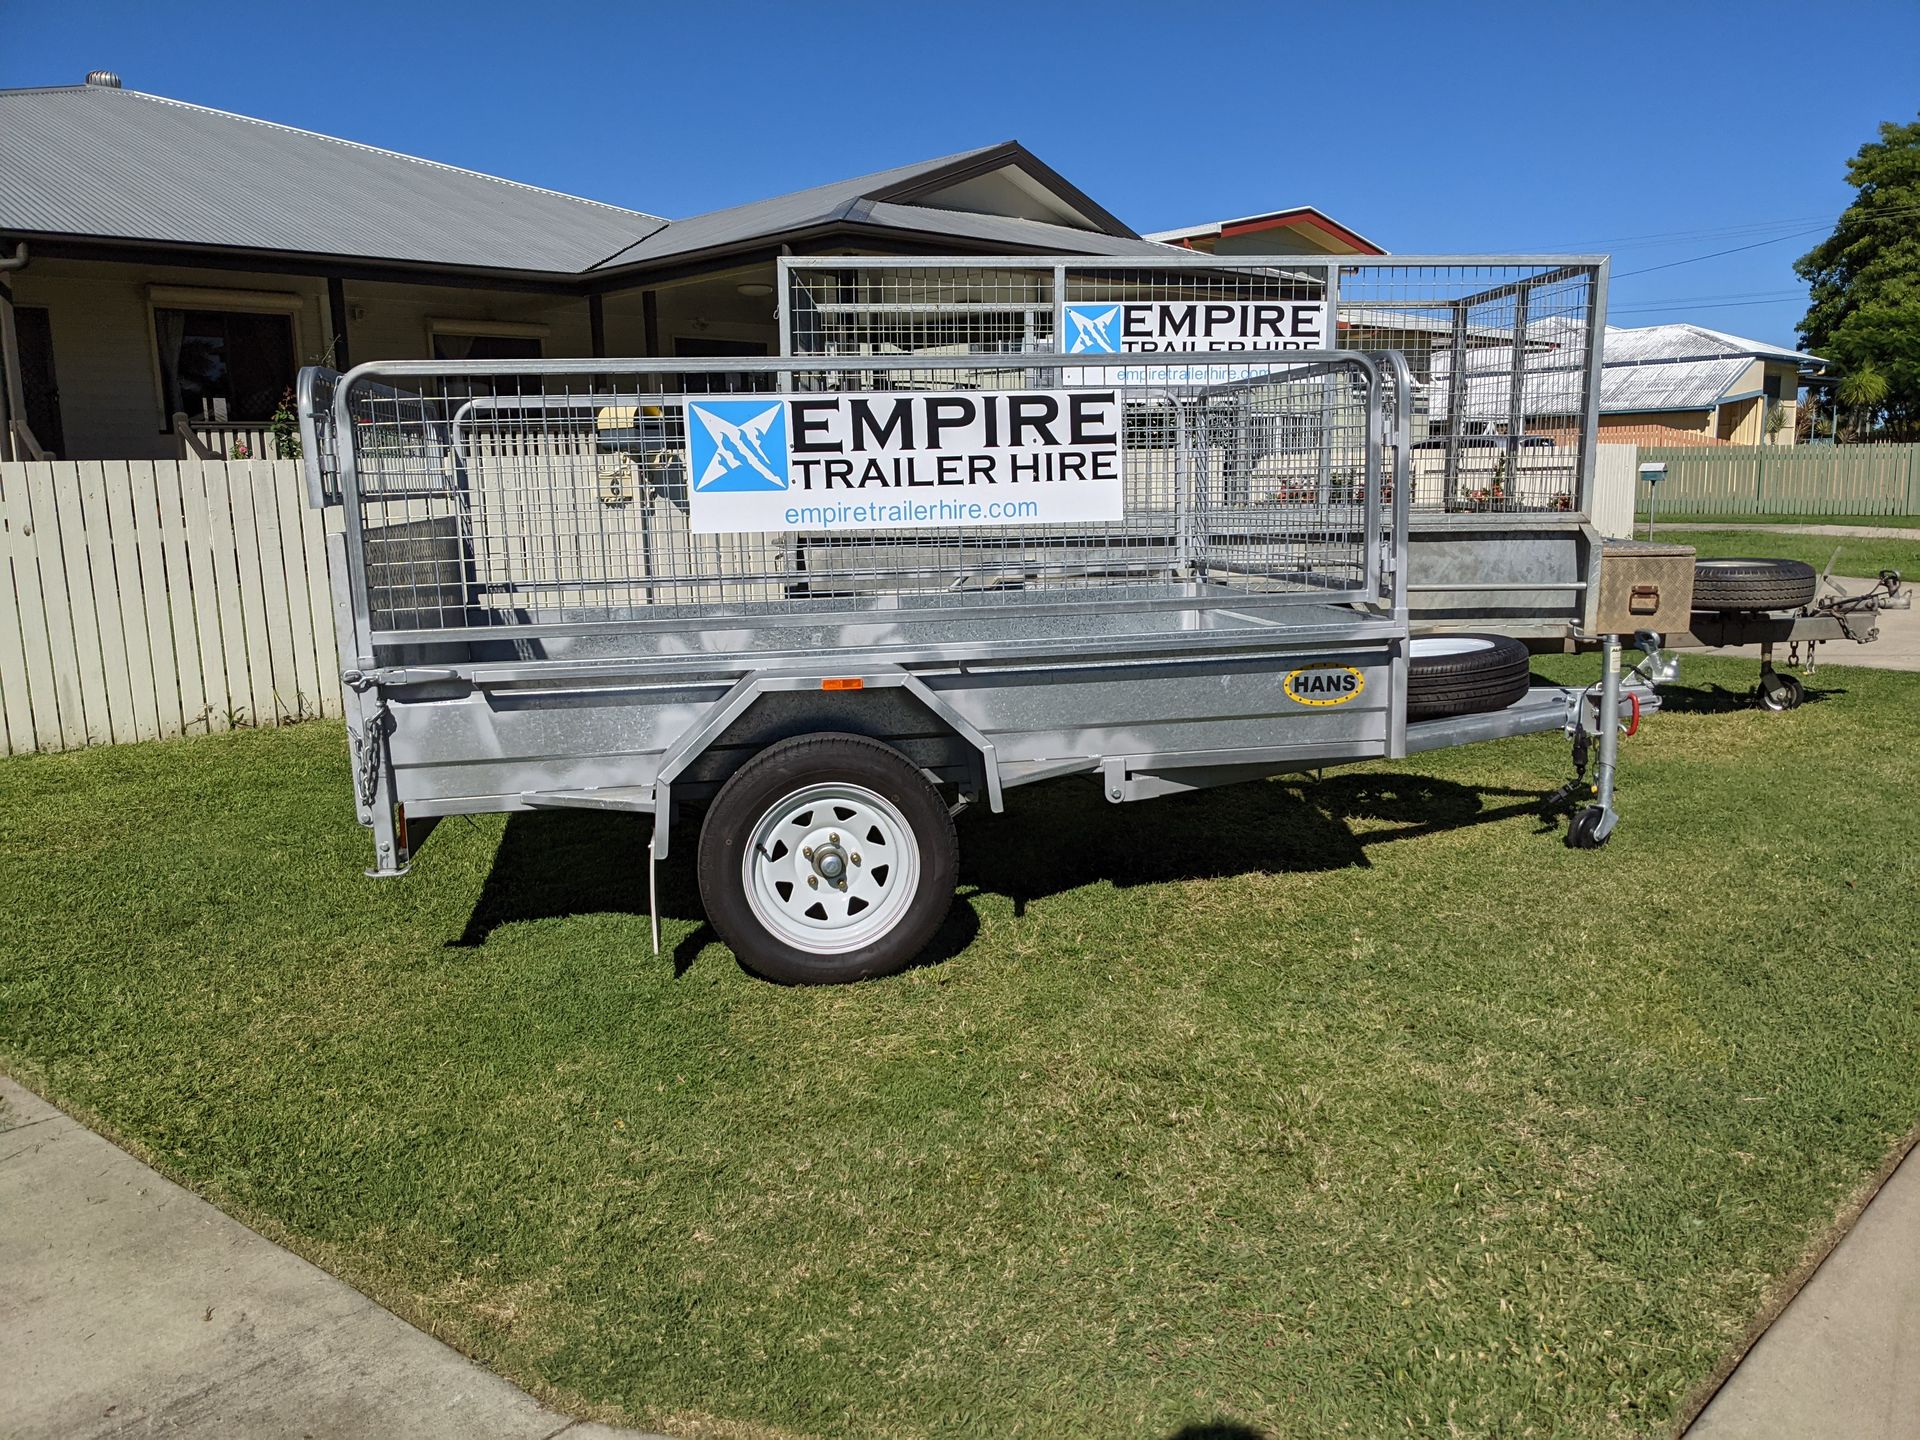
The first photo is the card image. It shows up in search, browse, and share previews. Treat it as a product shot, not a yard snapshot.
Use the same recipe on every trailer:
- Show the full trailer, nothing cropped off the drawbar or the tail
- Shoot from a slightly higher angle, with the trailer facing just past the camera (a three-quarter front view)
- Feed that photo into an image tool and turn it into a product image on a transparent (or white) background, with a light shadow, same angle
A prompt that works:
"Make a product image of this trailer to match the product photo with the white background here. Transparent background, light shadow. Keep the same facing angle and show the full trailer."
Attach a reference product shot if you have one you already like. The point is not art. The point is that every listing card looks like it belongs to the same catalog: full trailer, clean background, same three-quarter angle.
On a Lockii product, that file is the main photo. Extra shots go in the gallery.
Then add 3 to 5 real photos
After the product shot, upload at least three more photos, five if you can. These should keep their normal backgrounds. The yard, the gravel, the fence: that context helps renters understand scale and where they are collecting from.
Shoot the whole set in one session, in the same place, walking around the trailer. Same light, same cleanliness, same day. A renter scrolling the gallery should feel like they walked around the unit, not like they opened five unrelated albums.
Light: daylight or sunset. Midday shade is fine. Avoid night, undercover fluorescent, and the inside of a shed.
Before you start, wipe the phone camera with a cloth. A greasy lens is why so many listing photos look soft and cheap. Trust us, it makes a bigger difference than it sounds.
Then walk this path:
| Shot | What it answers |
|---|---|
| Other three-quarter or side | Overall length and condition |
| Rear, ramp or tailgate open | How you load it, and the deck or tub |
| Deck / floor close-up | Condition, tie-downs, usable space |
| Hitch, coupler, and plug | Ball size and electrical connection |
| Tires, lights, or any wear | How it has been looked after |
If the trailer has a cage, ramp, winch, toolbox, or spare, give that feature its own frame. If there is existing scuff or a dent, photograph it. Renters trust a listing that shows wear more than one that hides it, and you avoid the argument at return.
Landscape frames work better on listing cards than tall portraits, which get cropped.
Fill the specs that decide the booking
Photos get the click. Specs get the booking. A renter who can confirm the trailer fits their job and their tow vehicle does not need to message you, and most will not wait for a reply.
Minimum set:
- Length and width (the tray or box, not just "8x5" in the title)
- Payload capacity
- Ball size (50mm / 1-7/8", 2", or 2-5/16" depending on the coupling)
Add these if they apply:
- ATM or GVWR, and tare if you know it
- Single or dual axle
- Override or electric brakes, and whether a brake controller is required
- Plug type (4-pin or 7-pin)
- Ramp, tailgate, or drive-on
- Internal height on box trailers
Write numbers the way people compare them. "8 ft x 5 ft tray, 750kg ATM, 50mm ball" is clearer than a paragraph that buries the same facts.
Write a description that answers the next three questions
The spec table cannot cover condition, use cases, or how pickup works. That is what the description is for. Aim for at least three or four sentences. Write it like a short brief for someone who has never been to your yard.
Cover:
- Condition and what it is (and is not) suitable for
- What is included on the trailer
- Pickup: where, how to find it, and anything they should bring
A usable example for an 8x5 box:
"8x5 single axle box trailer in good working condition. Suitable for household loads, tip runs, and light landscaping. Not rated for plant or cars. 50mm ball, 7-pin plug, ramp tailgate, and four tie-down points. Spare wheel is on the trailer. Pickup is from the yard on Industrial Drive: book online, follow the bay number in your confirmation, and hitch in the marked lane. Bring a 50mm ball and a vehicle rated for the 750kg ATM."
That block does more work than "Great trailer, message me for details." If someone has to ask, a lot of them will open the next listing instead.
Leave out:
- Specs you already put in the fields (repeat only if a renter would miss them)
- "Contact me for details"
- Hype. "Perfect for all your hauling needs" tells them nothing
If pickup is contactless, say so in the description and put the practical steps in the location instructions. The listing should match what the confirmation email will say. See how contactless trailer hire is set up if the handover is still a phone call.
A few extras worth adding
Price should be visible. Renters comparing trailers skip listings that hide the rate. A weekly price next to the daily rate also helps: longer hires mean fewer turnarounds.
List what is actually on the trailer. Ratchet straps, a spare, a jockey wheel, a lock, moving blankets. "Includes 4 straps and a spare" is a reason to pick you over a cheaper empty deck.
State tow requirements in plain language. Minimum tow rating, ball size, and whether they need a brake controller. Wrong vehicle at the gate is a wasted booking for both of you.
Keep the listing current. If you add a ramp, change the ball, or the deck gets resheeted, update the photos and the specs the same day. Stale photos are how people arrive expecting a different trailer.
On Lockii, the product page is the listing: main photo, gallery (up to five extra images), name, description, and price. Get those right and the same listing is what customers see on your site, in widgets, and anywhere you publish the product.
Listing checklist
- Title is size + type, not a nickname
- Main photo is a full-trailer product shot, same angle on every unit
- 3 to 5 gallery photos from one walk-around, daylight or sunset, lens wiped
- Length, width, payload, and ball size are filled in
- Description covers condition, use, inclusions, and pickup (3+ sentences)
- Price is visible
- Wear and extras are shown, not implied
Do this for the first trailer, then copy the photo method across the fleet. A consistent catalog gets more bookings than a mixed bag of yard selfies, and it is the cheapest utilization work you can do before you buy another unit. For what to do after listings start converting, use the growth playbook.